Physical Count RFID
When you count an item that uses RFID, this item will accept an RFID tag when you perform the physical count.
Note: Inventory Preference settings facilitate the physical count process by setting a default quantity and by defaulting to the last location during the physical count session; see "User Preferences".
- From the Main form, tap the Inventory option.
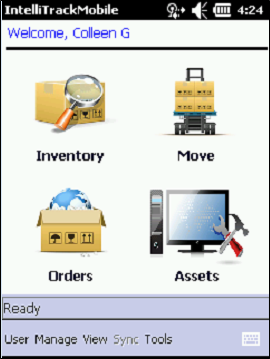
- The Inventory - Consumables form appears.
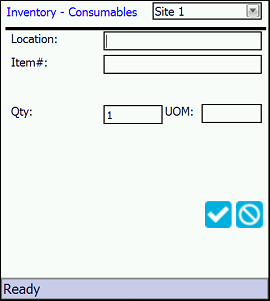
- The default site of the logged-in user is automatically entered in the site field at the top of the form. If you need to select another site, enter the inventory counting site in the Site field via the selections available in the drop-down list (the site or sites available depend on the sites assigned to the logged-in user.
- Location field: enter the location where the item is being counted in this field.
- Item# field: enter the item number (entering the alternate item number will also display the item number) that is being counted in this field. If this item uses RFID, an RFID Tag# field appears onscreen after the item is validated.
- Qty: Enter the amount being counted in the Qty field. (If using the default quantity inventory preference setting, the Qty field will default to the default inventory quantity; see "User Preferences".)
- UOM (required and enabled if the division uses multiple units of measure): enter a unit of measure in this field if your division uses multiple units of measure.
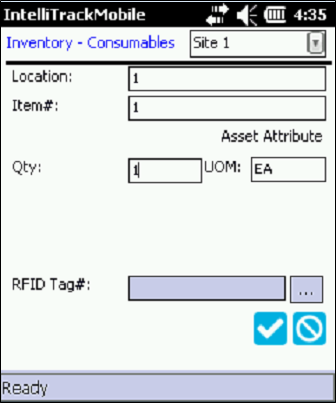
- RFID Tag# field (optional): Press the Browse button. The Enter RFID Tag Numbers screen appears.
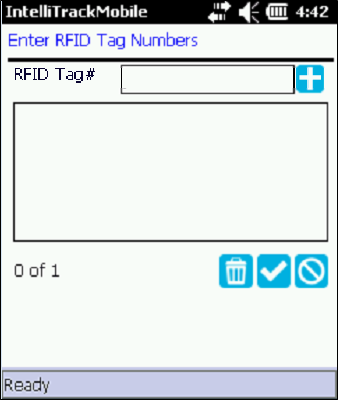
- Enter the RFID tag number in the RFID Tag# field.
- Press the Add icon.
- The RFID tag number is placed in the box below.
- Continue to add RFID tag numbers for this item until you are finished adding all of them. (The amount of RFID tag numbers added cannot exceed the quantity.)
- Save: Press to save this RFID tag number to the item; the Enter RFID Tag Numbers screen closes. You are returned to the Inventory - Consumables screen.
- Delete: Select the RFID tag number and press this button to remove the RFID tag number from the grid.
- Cancel: Select to cancel adding the RFID tag number or numbers entered in this screen; the form closes and you are returned to the Inventory - Consumables screen. The RFID tag number or numbers are not added to the item.
- At the Inventory - Consumables screen, press the Save icon to save this item to the system. Each RFID tag number is validated. It must be unique company-wide in order to be added to the item during the physical count.